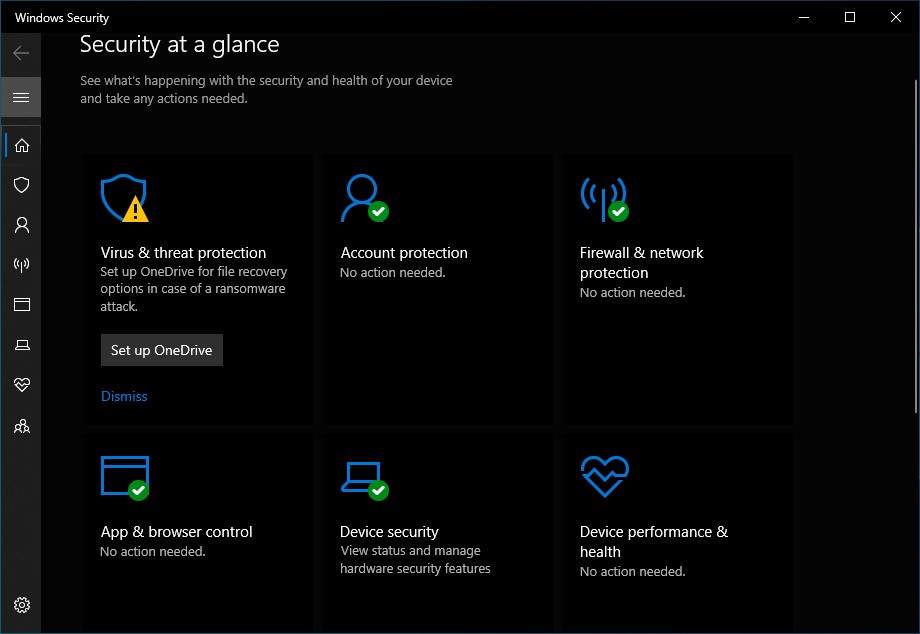
In this tutorial, we discuss steps to disable Windows Defender both permanently and temporarily. Whether Windows Defender doesn’t allow you to run a certain program or the reason being just your opinion that Windows Defender is not good enough for you.
In order to temporarily disable Windows Defender you need to change some settings on the Windows 10 Registry Editor which is always risky. However, if you follow our step by step guide you should be fine.
Time needed: 5 minutes.
(Tutorial) How to permanently disable Windows Defender:
- Go to “Run”
Press Windows Logo Key + R on the keyboard or go to Windows search and type Run
- Open Registry Editor
Type regedit, and click OK to open the Windows Registry Editor
- Browse to the Defender in registry editor
Browse the following path: HKEY_LOCAL_MACHINE\SOFTWARE\Policies\Microsoft\Windows Defender (Note: You can also copy paste the location to directly go to access the desired settings)
- Create a new key
Now, right-click on Windows Defender folder-> New-> DWORD (32-bit) value
- Change the Key name
Name the key DisableAntiSpyware and press Enter.
- Change the Key value
After creating the file, double-click on it and set the value from 0 to 1. Click OK
- And we are done
Restart the PC.
- Video tutorial
Check the video tutorial
That is pretty much all you have to do so as to disable Windows Defender permanently. But if the guide seems too much for you then there is good news for you. You can also temporarily block the Windows Defender in Windows 10 just by going through a few steps and it doesn’t require you to play with the Registry Editor.
How to temporarily disable Windows Defender in Windows 10
- Type “Virus and Threat Protection” in the Windows Search.
- Click on “Manage settings” under Virus and Threat Protection settings.
- Turn off the following Real-time Protection toggle switch
But in case you want to revert back to the Windows Windows Defender, there is a way to achieve that with a simple step by step solution.
How to revert back to the original state
- Head back to the same address on the Windows Registry Editor
“HKEY_LOCAL_MACHINE\SOFTWARE\Policies\Microsoft\Windows Defender” - Right-click on the newly created DWORD file
- Click on Delete.
- Close the Registry Editor and restart the Windows.
As you can see there are a couple of ways to disable Windows Defender but you should never disable it for an indefinite time unless you have other equivalent solutions. Remember, it is always risky to run any computing device without protection.
Windows Defender which later changed to Windows Security with the introduction of Windows October 2018 Update might not be as powerful as a dedicated Anti-virus software but for people wanting to have complete protection even while surfing the web, might find Microsoft’s solution underperformed.
But to clear the air, I assure you Windows Security is not what it used to be a few years ago, it can very well pull off intensive scanning which is effective unless your PC gets infected with some of the notorious threats like Wannacry. If that is the case, then a dedicated Anti-virus program doesn’t come to the rescue immediately either.
But as I mentioned, Windows Security a.k.a. Windows Defender is not perfect and there is a lot of space for improvement. Microsoft solution does not include features like web monitoring and others.
