

Project My Screen now works fine with Windows 10 Mobile on all devices while connecting via USB. Project my Screen over WiFi still works only with Windows 10 Mobile / PC Redstone Build 14328 and higher. You can check our tutorial on how to set it up by clicking here. In below tutorial we will tell how to do it via USB connection.
Update:
As of Windows 10 Mobile Build 10586.420 / Windows 10 Mobile Redstone Build 14364, we can confirm that Project My Screen via USB connection is working fine with most of the devices.
How To use Project My Screen:
- Install Project My Screen app on your PC. Click here and follow the installation screen instructions to complete the installation.
- Once installed open the Project My Screen app on the PC and connect the Windows 10 Mobile running device to PC using an USB cable.
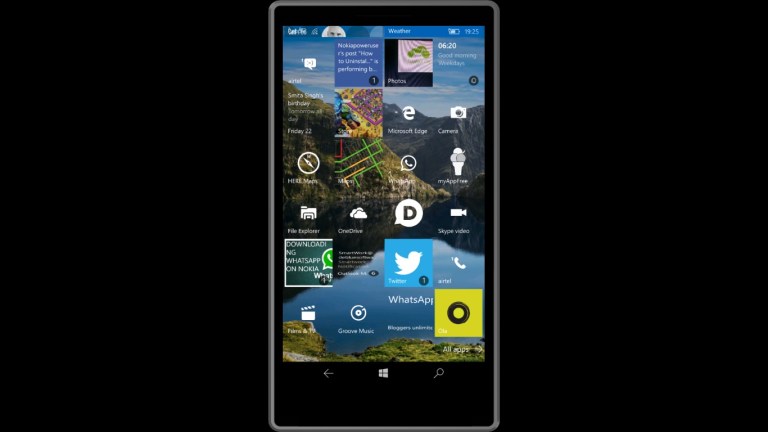
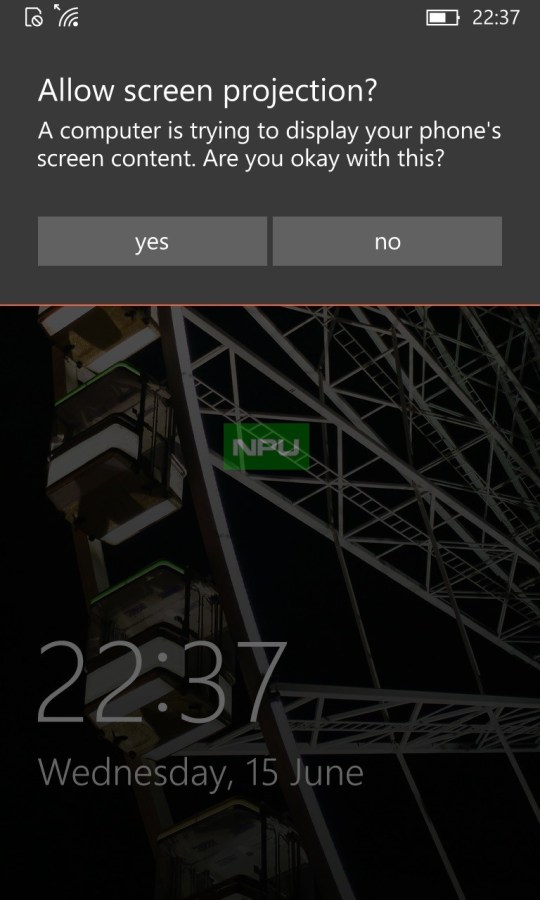
- You should see a prompt on your device asking for your permission to project your screen.
- Allow it to see your device getting projected on your PC.
What to do if you are not getting prompted to project your screen:
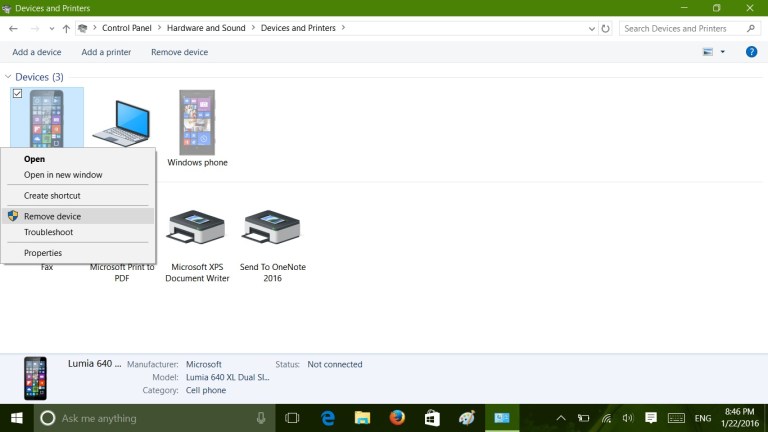
- In case your phone was already connected to your PC you may need to remove it by going to Control Panels—>Device and Printers.
- Also try uninstalling and reinstalling your phone drivers on your Windows PC.
- Connect your phone to your Windows PC using a USB cable.
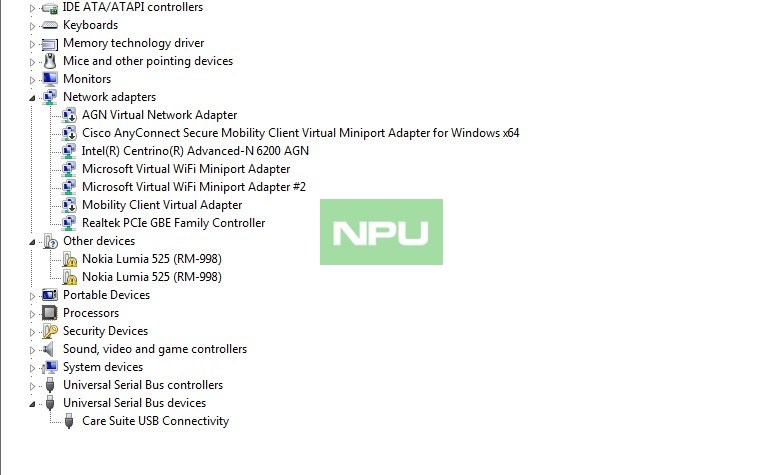
On your PC, go to Start and open Device Manager.

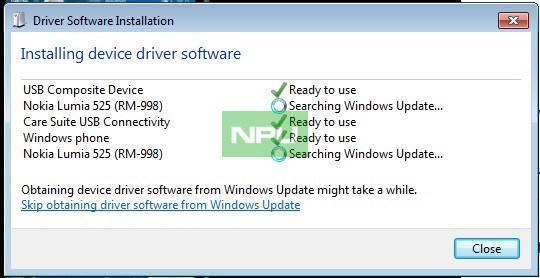
Click Universal serial bus devices, right-click on your Windows Phone / USB connectivity items, then click Uninstall. Make sure that you uninstall any Windows Phone devices / USB connectivity items that appear in this list. (You may need to restart your PC.)

Disconnect your phone from your PC, then reconnect it. It’ll automatically reinstall the correct drivers.
Restart both PC and Phone (Recommended)
- Now open the Project My Screen app on PC and connect the phone. You should see the prompt.
Check below for instructions for Windows Phone 8.1 running devices.
Windows Phone 8.1 brings unique ability to project phone’s screen on a computer, TV, external display etc.
The wireless projection is now possible with “Miracast” in selected devices like Lumia 930, Lumia Icon and Lumia 1520 running Lumia Cyan. The screen projection with help of a USB connector is possible for all the devices, including even Lumia 520 and Lumia 525.
This tutorial aims to tell you, how to do that.
First you need to download and install the “Project my screen” app on your PC. Click here and follow the installation screen instructions to complete the installation.
 Once you have “project my screen app” installed, launch it on your PC, connect your Windows Phone 8.1 device to PC with help of the USB connector. You should see a prompt on your device asking for your permission to project your screen. Allow it to see your device getting projected on your PC.
Update:
In case you are facing issues with your PC not prompting you for “allow screen projection”, when you connect PC to phone, you can go to Control Panels——-> Devices & Printers on your PC and remove your phone, if already present.
Now launch the “project my screen” application on your PC, connect your device to PC with USB cable and it will ask, if you want to allow screen projection.
Thanks Mika for the workaround!!
Click here, if you are still facing issues.
Settings: You can see controls available in PC app and you can use them for screen orientation. The best part about this USB connection and “Project my screen app” is that it really works in real-time and what is happening on your phone screen promptly reaches to your PC screen. On your PC, you can use alt+enter to control the full-screen app view.
By going to Settings—>Project my screen on your phone, you can enable “Show Touch” in the advanced settings and you can also chose in which color your touch will be shown.

 using the new photo gallery in Outlook on Android")


 using the new photo gallery in Outlook on Android")


