

In this Windows 10 tutorial, we will let you know how to see saved WiFi passwords on a Windows 10 PC. It was relatively easier on Windows 7 to see WiFi passwords, but on Windows 10 you need to follow a few easy steps.
Step by Step Tutorial:
- Right Click on the WiFi icon in Taskbar. Click on “Open Networking and Sharing center”

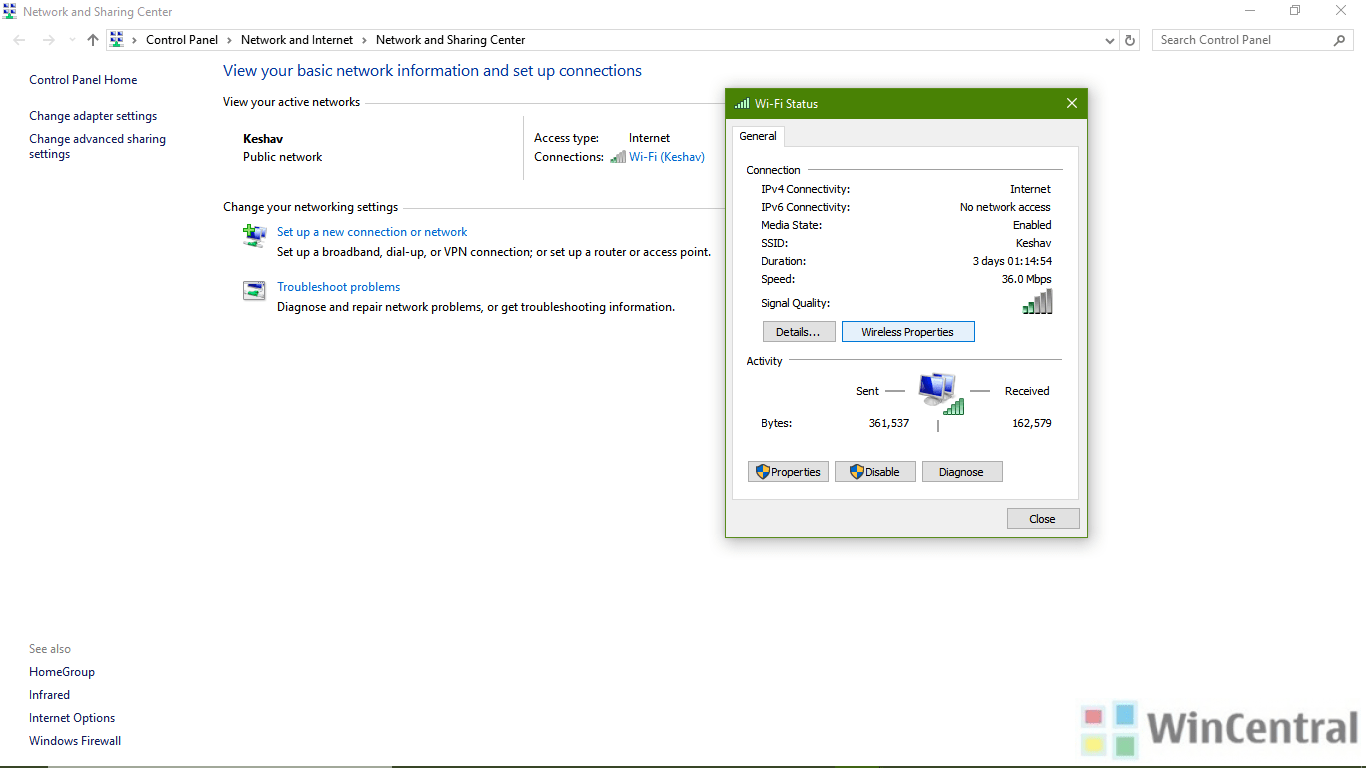
2) Now, once Networking and Sharing Center opens, you would be able to see the WiFi network you are currently connected to. Now click on it.

3) Now, you will see a pop-out small screen opening. Click on Wireless properties.
4) A new pop-out screen will open. Switch to “Security” tab. Check the box “Show characters” and you should be able to see the password.

In case you want to see WiFi password for any of the networks you have ever connected to you can use these steps.
- Right click on Windows icon on start screen. Open command prompt / Powershell as an administrator. Now type the following command: netsh wlan show profile

- This command will list all Wi-Fi profiles that you’ve ever connected to.
- Now for revealing the password of a specific network, use the command “netsh wlan show profile “NETWORK NAME” key=clear”. Substitute “NETWORK NAME” with the Wi-Fi network you want to see password of
- You’ll be able to see Wi-Fi password in ‘key content,’ under security settings.


 using the new photo gallery in Outlook on Android")


 using the new photo gallery in Outlook on Android")


